Slit Stitchin'
No, I didn't get into a bar fight that required stitches. That'd make for a pretty nifty blog post. . . but it'd be kinda tricky to manage seeing as I'm never at bars and I have a passive personality.
But hey. You can keep checking back.
:)
This post is actually considerably less feisty.
. . .
Remember when I went to Gordman's and lost Hannah {HERE}? Well, in addition to learning valuable life lessons, I also earned $10 "cash" to spend {think "Kolh's Cash"}.
Sweet-sauce.
I went back the other day and scored a super-de-duper comfortable maxi skirt. . . with one flaw. It had a slit that was quite ambitious. I'm sure such a slit would be necessary for all those Olympic athletes that enjoy competing in their semi formal wear. But for me? It was unnecessary and much too high. Trust me, ya'll don't want to see anything above my knee.
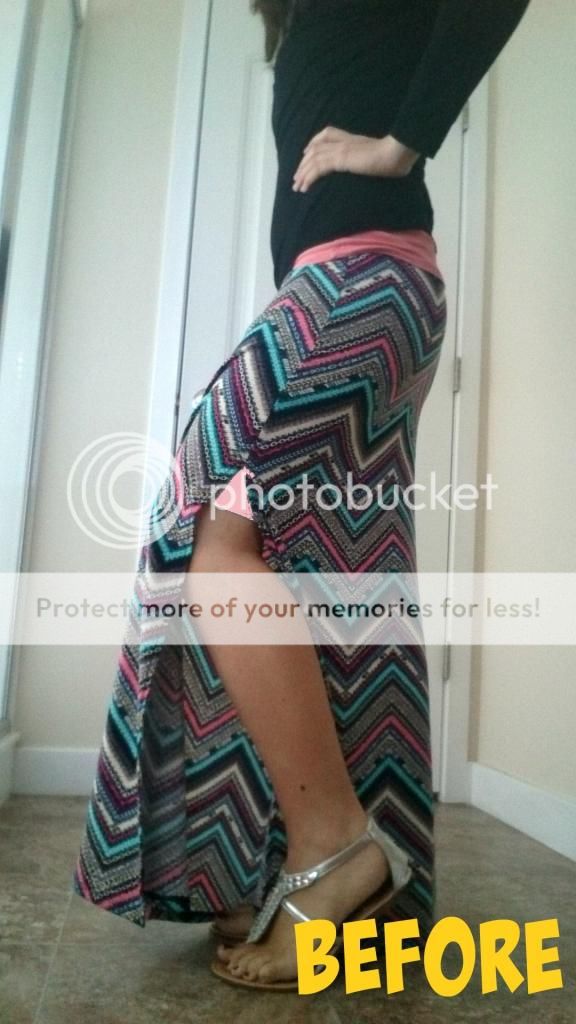
Luckily, I've learned a nifty hand-stitch technique that worked fabulously. I'd only ever used it to sew dolls and pillows, but HOT DANG, it works on skirts, too.
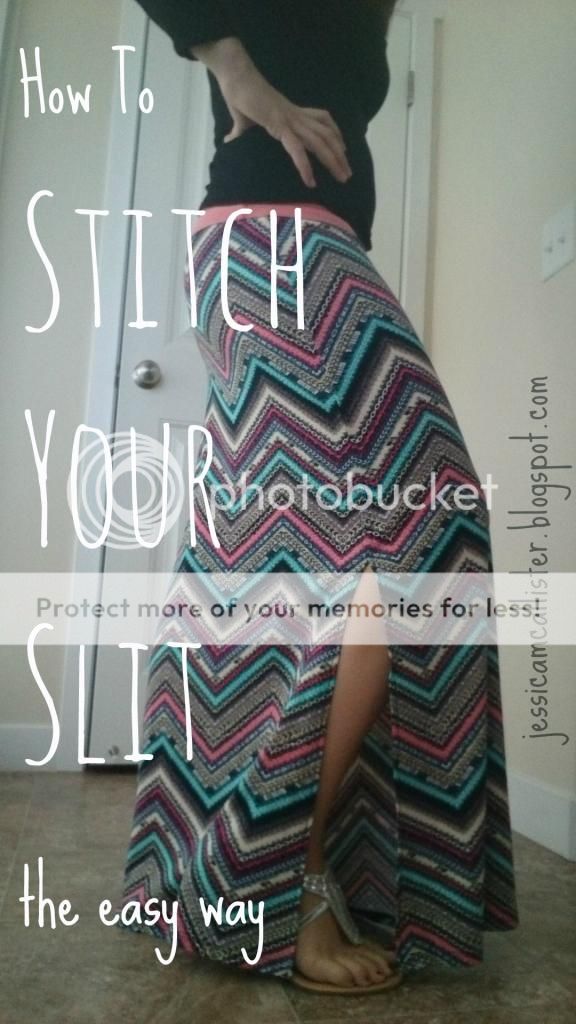
So. . . do you have a similar slit situation? Are you an Olympian athlete fond of formal wear? Mmmm'kay. Didn't think so. Let's fix that slit.
. . .
To start, grab some embroidery floss in a complimentary color {most of your floss will not be seen, but just to be safe, you don't want a crazy color}.
After threading your needle and knotting the end, poke your needle up at the beginning of the slit, coming from the backside so your knot will be hidden.
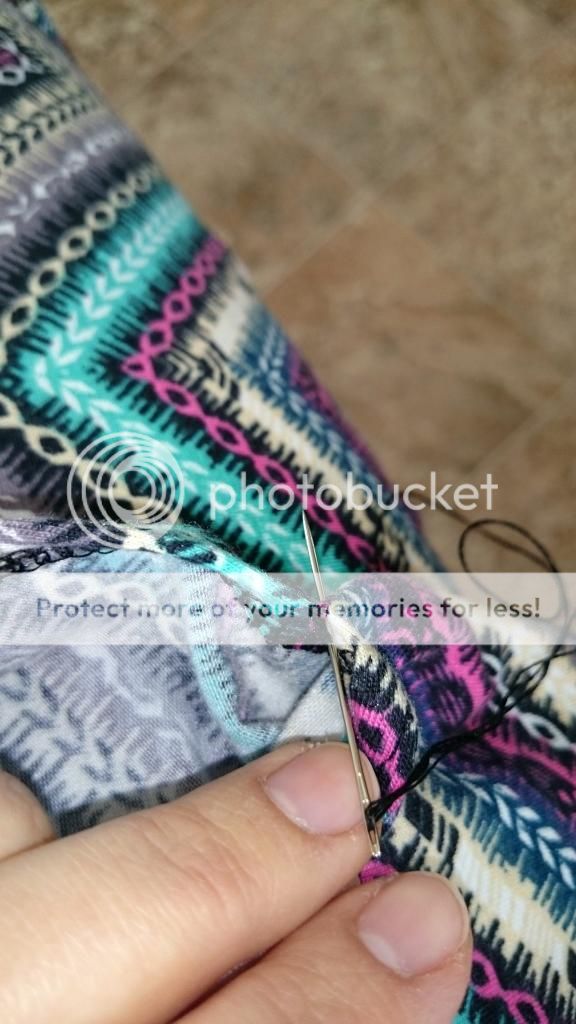
After you pull your thread through, pinch the two sides of the slit together. Since I started on the top half, I'm going to stick my needle horizontally through a small area on the bottom half and pull it through. You'll want to do this right along the fold created by the hem. . . if that makes any sense whatsoever.
For example, let's say #1 in the picture below is where I finished pulling my thread through after knotting the end. #2 is where I poked my needle through horizontally along the top of the fold. Now, this part is important, so listen up. See how the thread coming up at #1 lines up almost perfectly with the start of #2? Make sure you do the same thing for every single stitch.
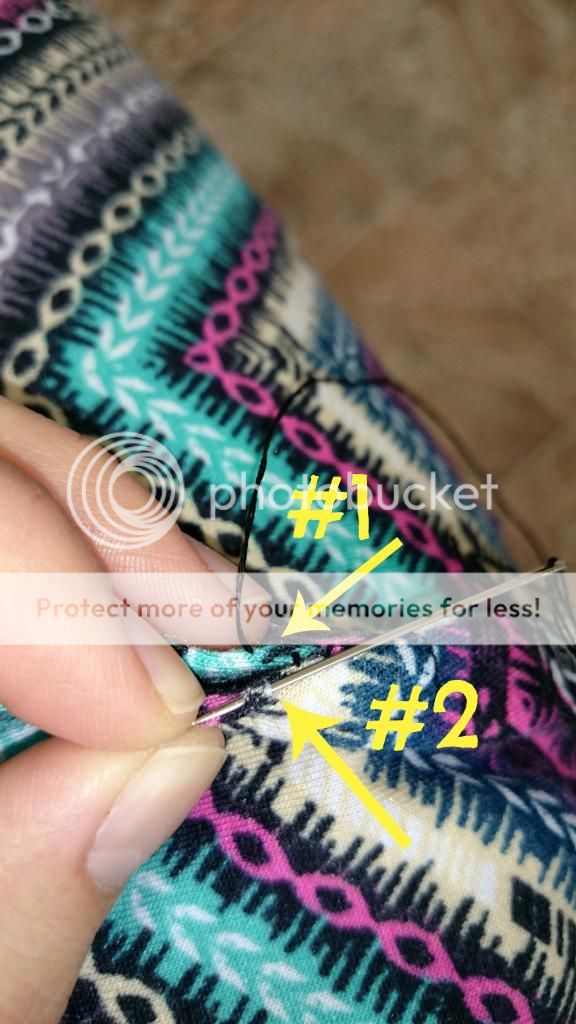
Here's a picture of the next step, including a #3 so you can better see where the needle comes out
(#1 is the stitch you just barely finished in the picture above}.
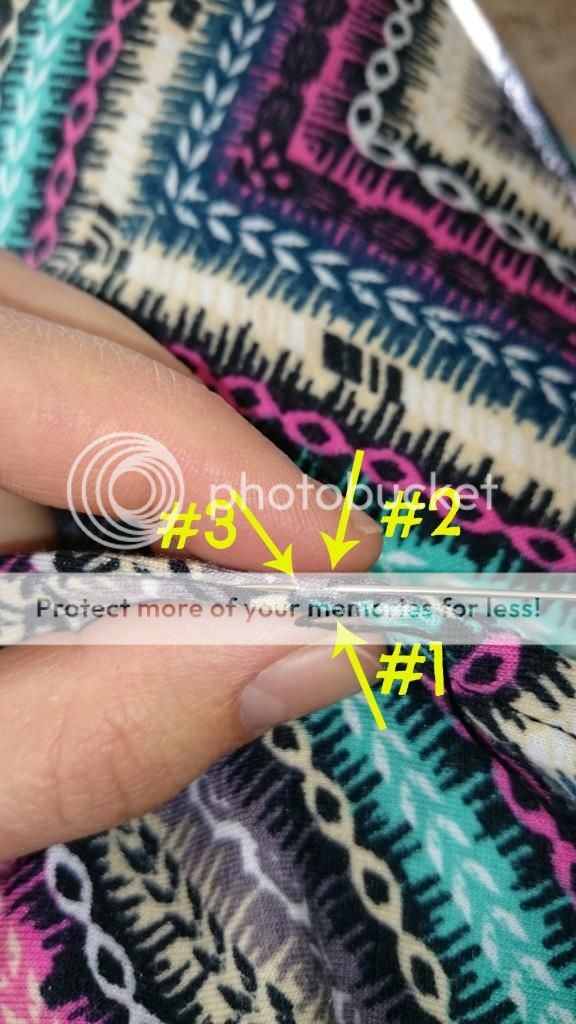
Capheesh?
Your next step would be to start your horizontal-needle-poke again, but lined up with where #3 is in the picture above.
If you're not holding the two sides of the slit together the whole time, this is what your stitches will look like :
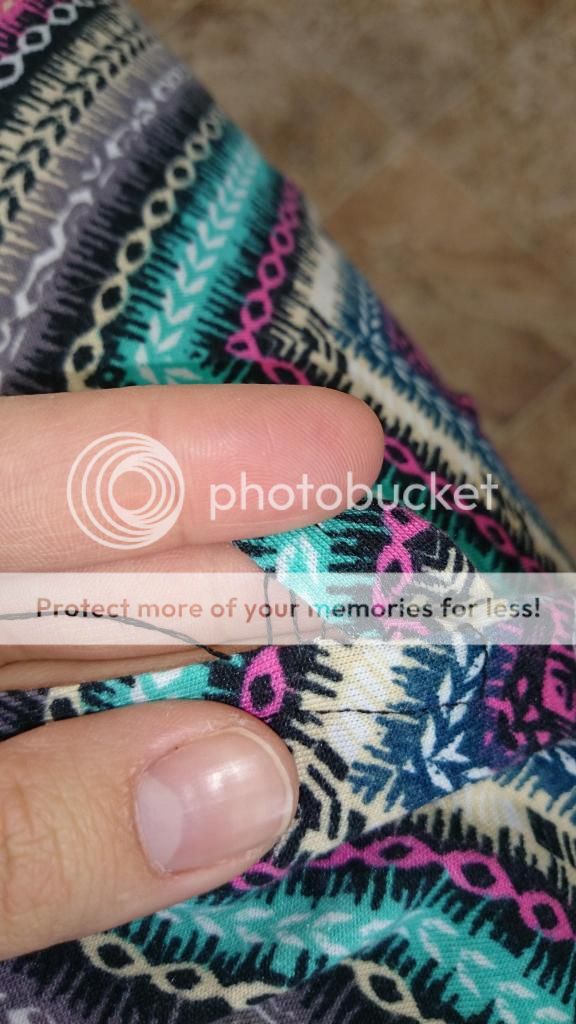
But that's totally cool. Not the end of the world. :) All you need to to do is slowly pull on the end of the thread and your stitches will tighten and pull your fabric together. Like so :
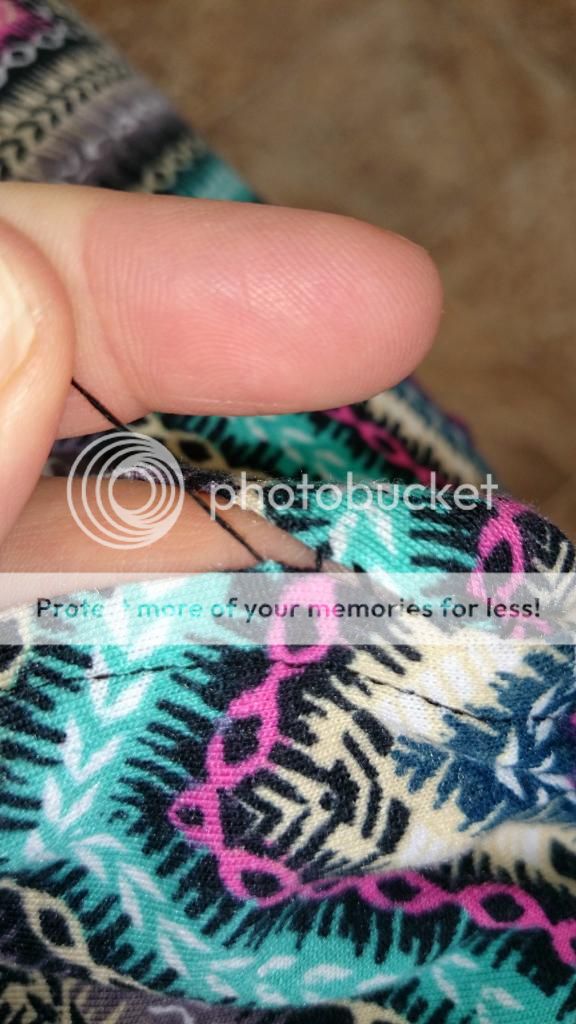
Until there is no gap :
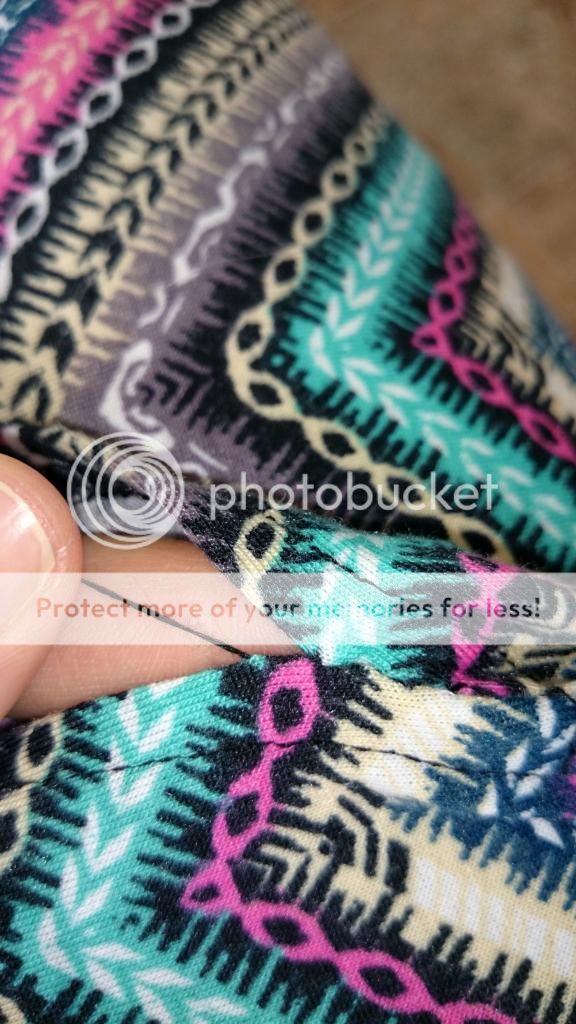
When you've made your slit to your new specifications, it's time to knot up. In case you haven't noticed already, I am NOT a super experienced seamstress. So ,yeah. This is probably not the best way to end your work. . . but what the heck. You're only young once.
Stab your needle through the backside of your fabric {trying not to poke through to the front side if you can help it} and start to pull your floss through. But don't pull it through completely.
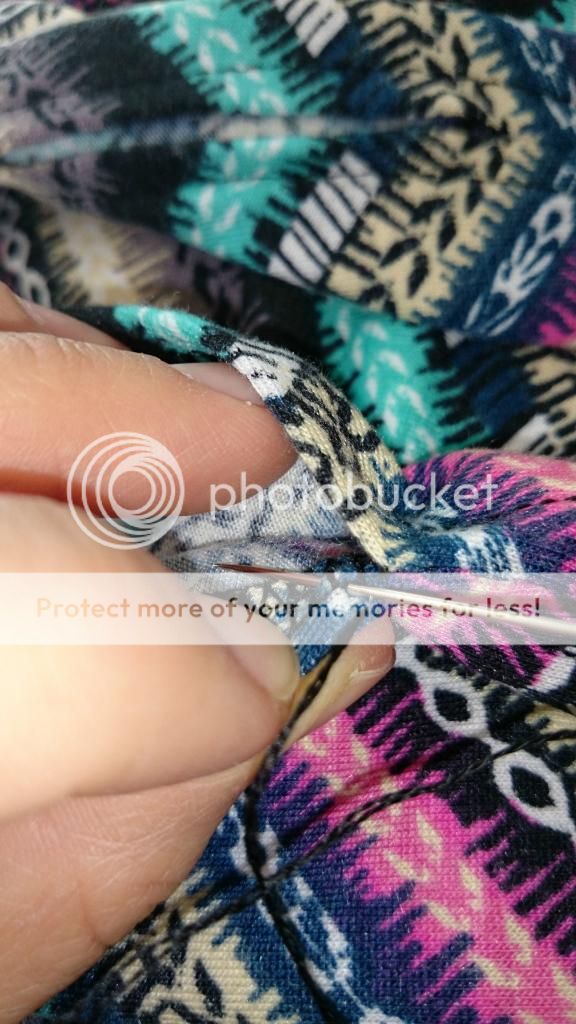
When your loop starts to get smaller, stick your needle through the loop.
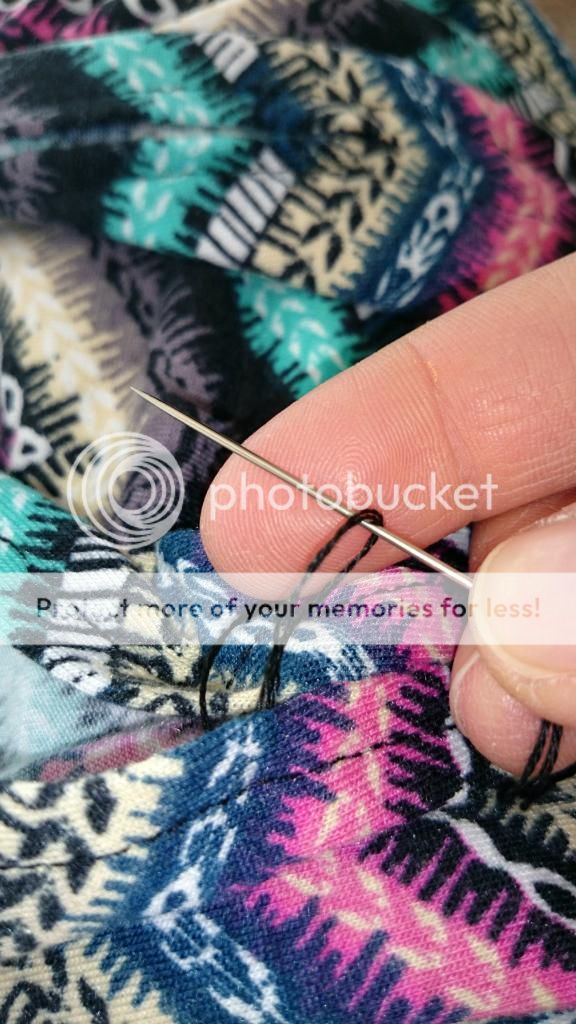
Then pull it nice and snug. Repeat the same process once more in the same area, and you're good to go! Oh, and don't forget to complete the same process if you have another slit on the other side of your skirt {like me}. ;)


Sorry, I emailed my comment by mistake. But I will try this stitch next time I have a seam go out in something. Also, I just wanted to comment on how dang cute you look in this skirt. Wish I was thin enough to wear it. It's very flattering on you. But then, you always dress so cute!
ReplyDeleteThanks, ma! I hope the tutorial made sense. I am most certainly not a good sewing tutorial person. They're deceivingly difficult! :P But it's much easier in person!
DeleteAnd you would look adorable! Don't even :)